HTML and CSS are beautiful languages and one of the landmark achievements of collaboration and the open web. Together, they allow you to create beautifully typeset digital content that can be viewed on any device, without any special software or paid licenses.
The web however was developed for scrolling content, and not paged media (by which we mean discrete pages, like in print or PDF). Unfortunately, whilst there are W3C standards on paged media, adoption by browsers has not been adequate to date. High quality paid alternatives exist in PrinceXML, but a native, free solution has been missing.
A happenstance discussion on Hacker News brought my attention to paged.js, a genius idea to polyfill the required capabilities to allow browsers to natively handle paged media, without having to build the whole rendering engine from scratch.
This guide provides a basic tutorial to using paged.js, for my own future reference and yours, and I highly recommend you visiting their site and supporting their project. In particular, their documentation covers many aspects of advanced paged media and is a worthwhile next step after reading this guide.
There are three elements required to producing PDFs from HTML through paged.js. First, you will need to load the paged.polyfill.js library either by hosting it locally or linking to it directly:
<script src="https://unpkg.com/pagedjs/dist/paged.polyfill.js"></script>
Second, you will need to have a web server as paged.js works by modifying your underlying HTML and CSS. One way is to host statically on GitHub Pages (or similar), another is use a local server like Web Server for Chrome.
Finally, you need to have your own custom stylesheet where you will enter all the formatting rules to apply. In our example repo, these rules are contained within style.css.
As an easier alternative, simply clone my example repo (and set up GitHub Pages for the cloned repo) and then read through
Before we begin with the main guide, I want to quickly introduce you to media queries. Media queries allow us to modify the stylesheet associated with our website depending on whether it is viewed on screen or for print (e.g. when printing to PDF or paper) and allow us to set different style sheets for print, screen and mobile.
A common use case for media queries is to hide navigational menus from a print or mobile view. Say we have defined a class
@media print {
  .sidebar { display: none; }
}
Whilst we will not make use of media queries in the rest of this guide and in the example repo, please do remember them and use them liberally to create distinct views for screen, print and mobile based on your requirements. They are a central component of responsive web design, a topic we could dedicate an entire book to, but not one for today.
Most properties will be captured in CSS as an attribute to the @page rule. For example, we can set the page size to A4 with the following. Other valid page sizes include letter, legal, ledged, A0 to A7, A10, B4 and B5.
@page { size: A4; }
Portrait is the default orientation, but you print in landscape by using the following variation. Finally, you can use custom page sizes as the second example below shows.
@page { size: A4 landscape; }
@page { size: 140mm 200mm; }
By default, paged.js will determine how much content fills up a page and then insert page breaks at the overflow points. We can manually insert page breaks by creating a
.page-break { break-after: page; }
We then simply have to add an empty div in HTML at the points we want a page break:
<div class="page-break"></div>
Similarly, we could automatically force a page break before every <h2> tag with the following (which also gives us the opportunity to avoid this behaviour by attaching the
h2:not(.no-break) { break-before: page; }
We can use CSS counters to add page numbers. The below CSS will add a page number to the bottom right of every page.
@page {
  @bottom-right { content: counter(page); }
}
The preceding page number example gives us a sneak peek into how we could add headers and footers. We can add these in six locations -
@page {
  @top-right { content: "Confidential" }
  @bottom-left {
    content: "Beautiful PDFs from HTML";
    width: 40mm
  }
}
One useful feature is to automatically number sections and figures. We achieve this with the following, noting that we use the class
body {
  counter-reset: sectionNumber;
  counter-reset: subsectionNumber;
  counter-reset: figureNumber;
}

h2:not(.no-counter) {
  counter-increment: sectionNumber;
}

h2 {
  counter-reset: subsectionNumber;
}

h3:not(.no-counter) {
  counter-increment: subsectionNumber;
}

h3 {
  counter-reset: figureNumber;
}

figure:not(.no-counter) {
  counter-increment: figureNumber;
}
We can then take this one step further and use CSS to automatically generate text labels to reflect the counters within our sections and figures.
h2:not(.no-counter):before {
  content: counter(sectionNumber) ". ";
}

h3:not(.no-counter)::before {
  content: counter(sectionNumber) "." counter(subsectionNumber) " ";
}

figcaption:not(.no-counter)::before {
  content: "Fig. " counter(sectionNumber) "." counter(subsectionNumber) "." counter(figureNumber) " ";
}
We can generate formatted headers by first creating the formatted header in our HTML and then changing its position to be running to move it to each page's footer:
<p class="footer"><a href="#toc-start">Return to Table of Contents</a></p>
.footer {
  position: running(footerRunning);
}

@page {
  @bottom-left {
    content: element(footerRunning);
   width: 40mm;
  }
}
To create headers with dynamic content we use the string-set property.
h2 {
  string-set: section content(text);
  break-before: page;
}

h3 {
  string-set: subsection content(text);
}

@page {
  @top-right {
    content: string(section) " - " string(subsection);
  }
}
Note the value in the header will refer to the first instance of the string-set property within the page (i.e. if there are multiple <h3> tags on a page, only the first will be used to populate the header).
We can create a cover page by defining custom pages in our CSS. Note that a custom page will automatically create a page break after it, so no need to manually break after one. Below is an example.
In HTML:

<div class="cover-page">
  <h1>Beautiful PDFs from HTML</h1>
  <h3>An introductory guide by Ashok Khanna</h3>
  <h3>April 2021</h3>
</div>


In CSS:

.cover-page { page: cover-page; }

@page cover-page {
  background-color: #347DBD;
  color: white;
  @top-right { content: none; }
  @bottom-left { content: none; }
  @bottom-right { content: none; }
}
The Paged.Js team wrote a great tutorial on adding table of contents to our pages. The first step is to load toc.js from our example repo into our HTML file. We then need to add the following script in our HTML, after the call for paged.js:
class handlers extends Paged.Handler {
  constructor(chunker, polisher, caller) {
    super(chunker, polisher, caller);
  }
  beforeParsed(content){
    createToc({
      content: content,
      tocElement: '#toc',
      titleElements: [ 'h2:not(.cover-header)', 'h3:not(.cover-header)' ]
    });
  }
}

Paged.registerHandlers(handlers);
We then need to do add our table of contents to our HTML code in the place we want it to appear:
<div class="table-of-contents">
  <h1 class="toc-header" id="toc-start">Table of Contents<</h1>
  <ol id="toc">
  </ol>
</div>
Refer to style.css in the example repo for advanced formatting of our table of contents.
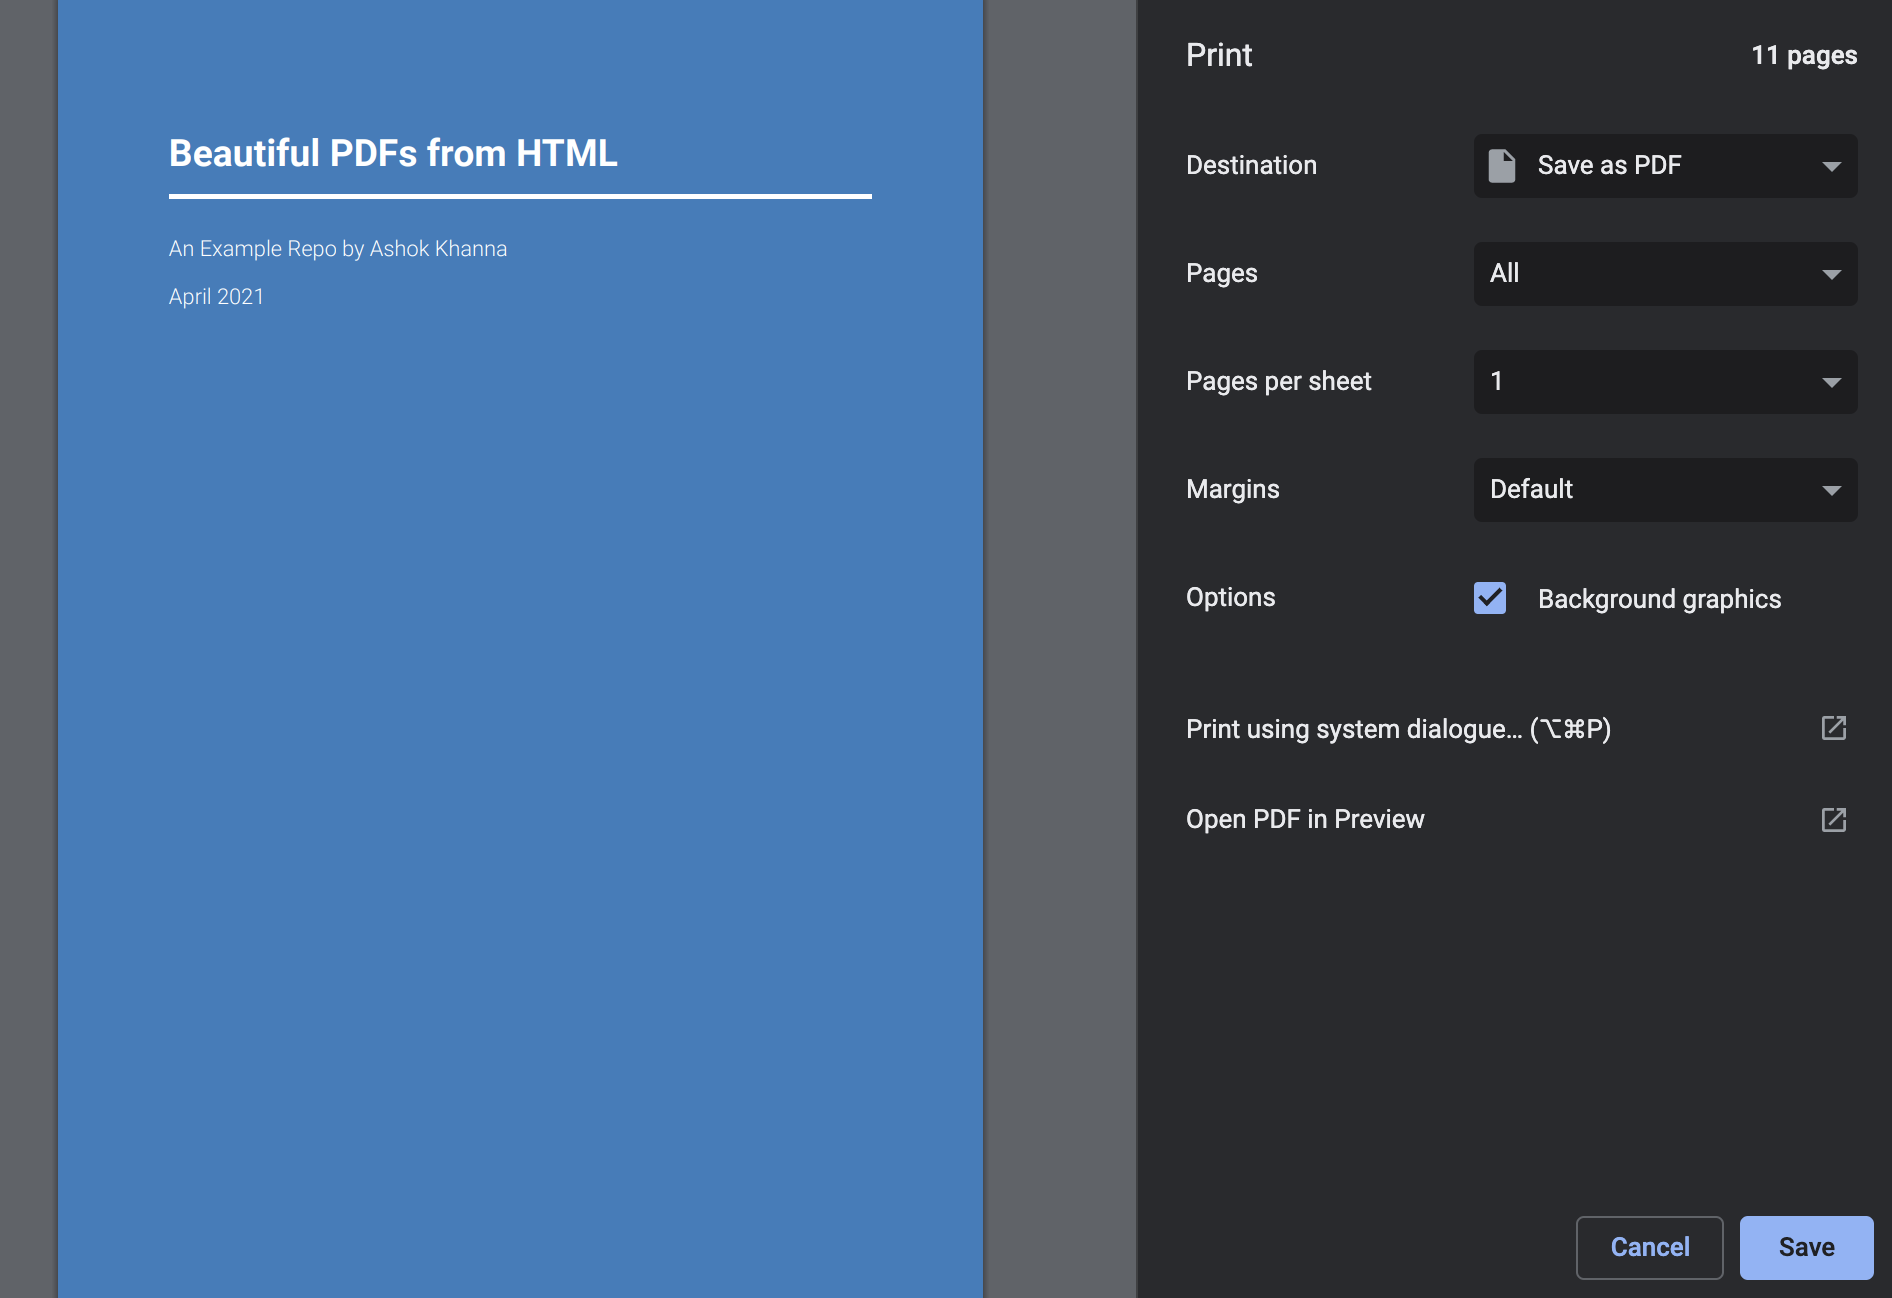
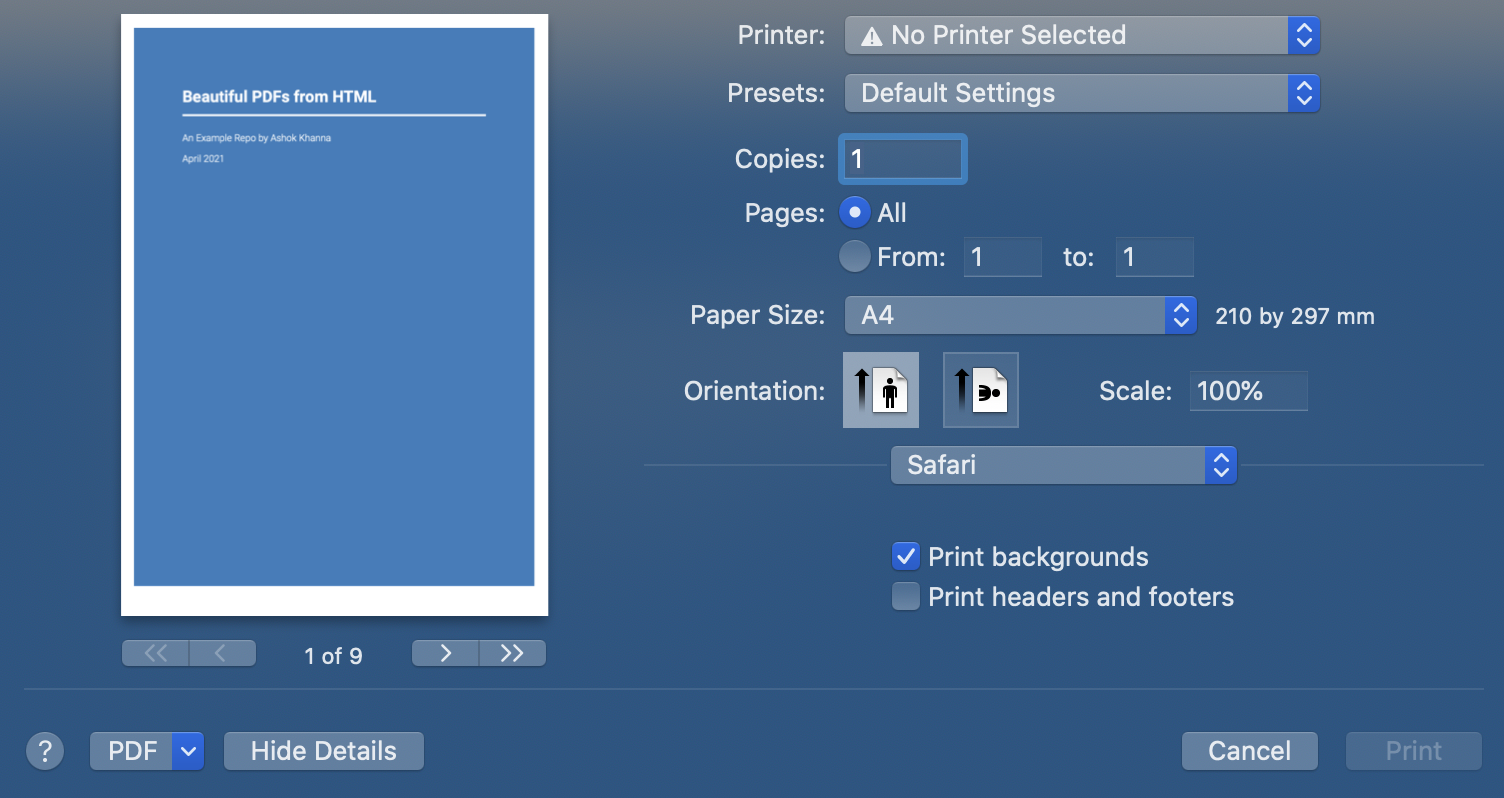
You can export your file to PDF using the browser's